Solar energy is more accessible than ever, and for those with a DIY spirit, building your own solar panel system might seem like an enticing option. However, it’s important to understand the dedication, precision, and risks involved before diving in. Let’s explore the costs, benefits, drawbacks, and steps to creating your own solar system so you can decide if it’s the right choice for you.
Key insights about DIY solar panels:
1. DIY solar projects require time, effort, and precision—they’re ideal for small-scale installations.
2. Costs range from $7,000 to $18,000 before the federal tax credit, depending on the system size and materials.
3. Solar panel kits simplify the process by providing pre-selected components, making the project more manageable.
4. DIY systems lack manufacturer warranties, monetary incentives, and professional support.
5. Professional installers provide safe, efficient, and long-lasting systems, backed by warranties for up to 25 years.
Why go solar?
Solar energy appeals to homeowners for many reasons: reducing reliance on the grid, cutting energy costs, and transitioning to a cleaner energy source. While most people opt for professional installation, those with technical skills and a DIY mindset might consider tackling the project themselves to save money and gain a sense of accomplishment.
How much does a DIY solar system cost?
When it comes to cost, DIY solar can be divided into two paths: purchasing a solar panel kit or sourcing materials individually.
1. Using a Solar Panel Kit
Solar kits typically cost between $7,000 and $18,000 for a 6-kW system, depending on quality and brand. While these kits simplify the process, they do not include permitting, installation, or tax credits—costs that professional installers often incorporate into their services.
2. Building from scratch
If you’re starting from the ground up, costs may be slightly lower, but they vary based on materials, tools, and other factors. Keep in mind that DIY systems often forgo warranties, leaving you financially responsible for any equipment failures.
Pros and Cons of DIY solar panels
Advantages:
1. Cost savings:
– Professional installations cost around $2.95 per watt. For a 5-kW system, this totals $14,750.
– DIY kits range from $1.00 to $1.50 per watt, reducing costs to $5,000-$7,500—a potential savings of $7,250-$9,750.
2. DIY satisfaction:
– Tackling a solar project can be rewarding, especially if you enjoy challenging tasks. From researching permits to wiring panels, the process offers opportunities to learn and gain new skills.
Disadvantages:
1. Time and effort:
– Installing solar panels isn’t quick or simple. DIY projects can take 1-4 months from start to finish, depending on your experience.
2. Roof risks:
– Incorrect drilling or sealing can damage your roof, causing leaks, mold, or structural issues. DIY installation may also void your roof’s warranty.
3. Safety concerns:
– Working at heights and handling high-voltage equipment pose serious risks. Without proper training, you’re vulnerable to falls, shocks, or fires from faulty wiring.
4. Lack of support:
– DIY systems lack professional support. If equipment fails, proving warranty claims can be difficult, especially if improper installation is suspected.
5. Missed incentives:
– Some state and local incentives require installations to be completed by certified professionals, reducing potential savings.
Step-by-Step guide to DIY solar panels
If you’re ready to proceed with a DIY solar system, here’s a simplified outline of the process:
1. Create a plan and design your system
Start by defining your goals. Are you looking for grid independence, financial savings, or a backup power source? The type of system you need depends entirely on your goals:
– Grid-tied systems: Connect to the grid for cost savings and net metering. These are the simplest and least expensive.
– Hybrid systems: Include battery storage for backup power.
-Off-Grid systems: Operate independently from the grid, requiring larger setups and significant battery capacity.
2. Research local regulations
Before starting, familiarize yourself with permitting requirements and local building codes. Some areas mandate licensed contractors for grid-connected systems.
3. Source materials
You’ll need:
– Solar panels
– Inverters
– Mounting hardware
– Wiring and electrical components
– Batteries (for hybrid/off-grid systems)
Consider purchasing a complete solar kit to streamline this step.
4. Secure permits
Work with local authorities to obtain the necessary building and utility permits. Inspections are typically necessary both during and after the installation process.
5. Install the system
Follow these basic steps:
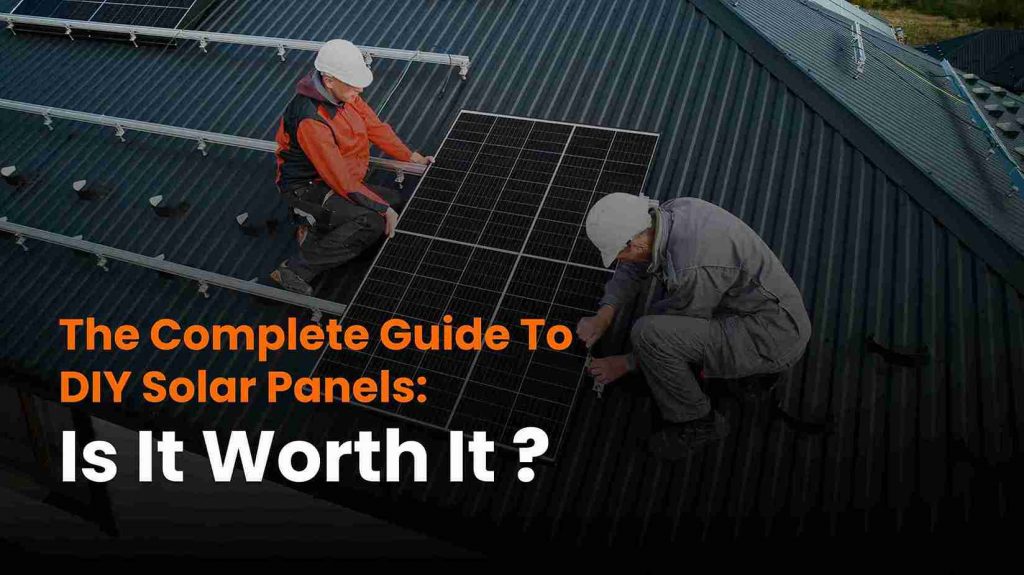
1. Mount the panels: Attach racking to the roof, ensuring proper alignment and sealing.
2. Connect the inverters: Wire each panel to microinverters or string inverters.
3. Run wiring: Ground the system and connect wires to a junction box.
4. Connect to your home: Link the system to your main electrical panel and include an emergency disconnect switch.
6. Inspection and activation
Once installed, schedule an inspection with local authorities. After passing, coordinate with your utility to activate the system and start generating power.
Is DIY Solar Panels right for you?
While DIY solar offers cost savings and personal satisfaction, it’s not for everyone. For those without experience in construction or electrical work, the risks and challenges might outweigh the benefits. Professional installations ensure safe, efficient systems with long-term warranties and support.
If you’re unsure about going DIY, consider consulting with a professional installer. Many companies offer free quotes and system designs tailored to your home’s needs.
Embrace solar energy
Whether you choose the DIY route or work with professionals, going solar is a rewarding investment in both your home and the planet. With proper planning and execution, you can reduce energy costs, increase energy independence, and make a positive environmental impact.